- Read Tutorial
- Watch Guide Video
In this section the course we're going to dive deeper into how we do use ruby gems and how to integrate them into our applications. I'm going to click and drag this into our current backlog. Double click ruby gems and let's see what we have here. Our description tells us we're going to utilize various Ruby gems in order to implement bootstrap, devise, Petergate along with building your own gem. We've already implemented devise so we can get rid of that. Petergate we are going to implement, I wanted to actually build out a section for that. We're going to focus on the bootstrap in this section. Petergate is for building authorization in your app and I think that that deserves its own section. Let's start with bootstraps
Type in Bootstrap 4, this is going to take us to the official bootstrap 4 page. At the time of this recording, bootstrap 4 is still in alpha. I want to use bootstrap 4 because I like the styles that have been implementing for version 4 and I want to use it because once we switch over to 4, all of the templates in the bootstrap codes are going to be written like this. I want to kind of stay on top of it and give you the most up to date version.
I don't actually want to download bootstrap in the traditional way, it's important to understand what I mean by that. Technically, bootstrap is just a set of Javascript and CSS files so technically we could simply download bootstrap. We've already talked about how we could use the style tag in an application. If we wanted to grab the bootstrap CDN, we could simply copy the CDN.
Let's create a new branch git checkout -b 'rubygem'.
Now we're officially on our ruby gem page and let's try rails s. Come back to Sublime text and let's open up our application.html.erb file. Let's paste in the bootstrap 4 CDN link
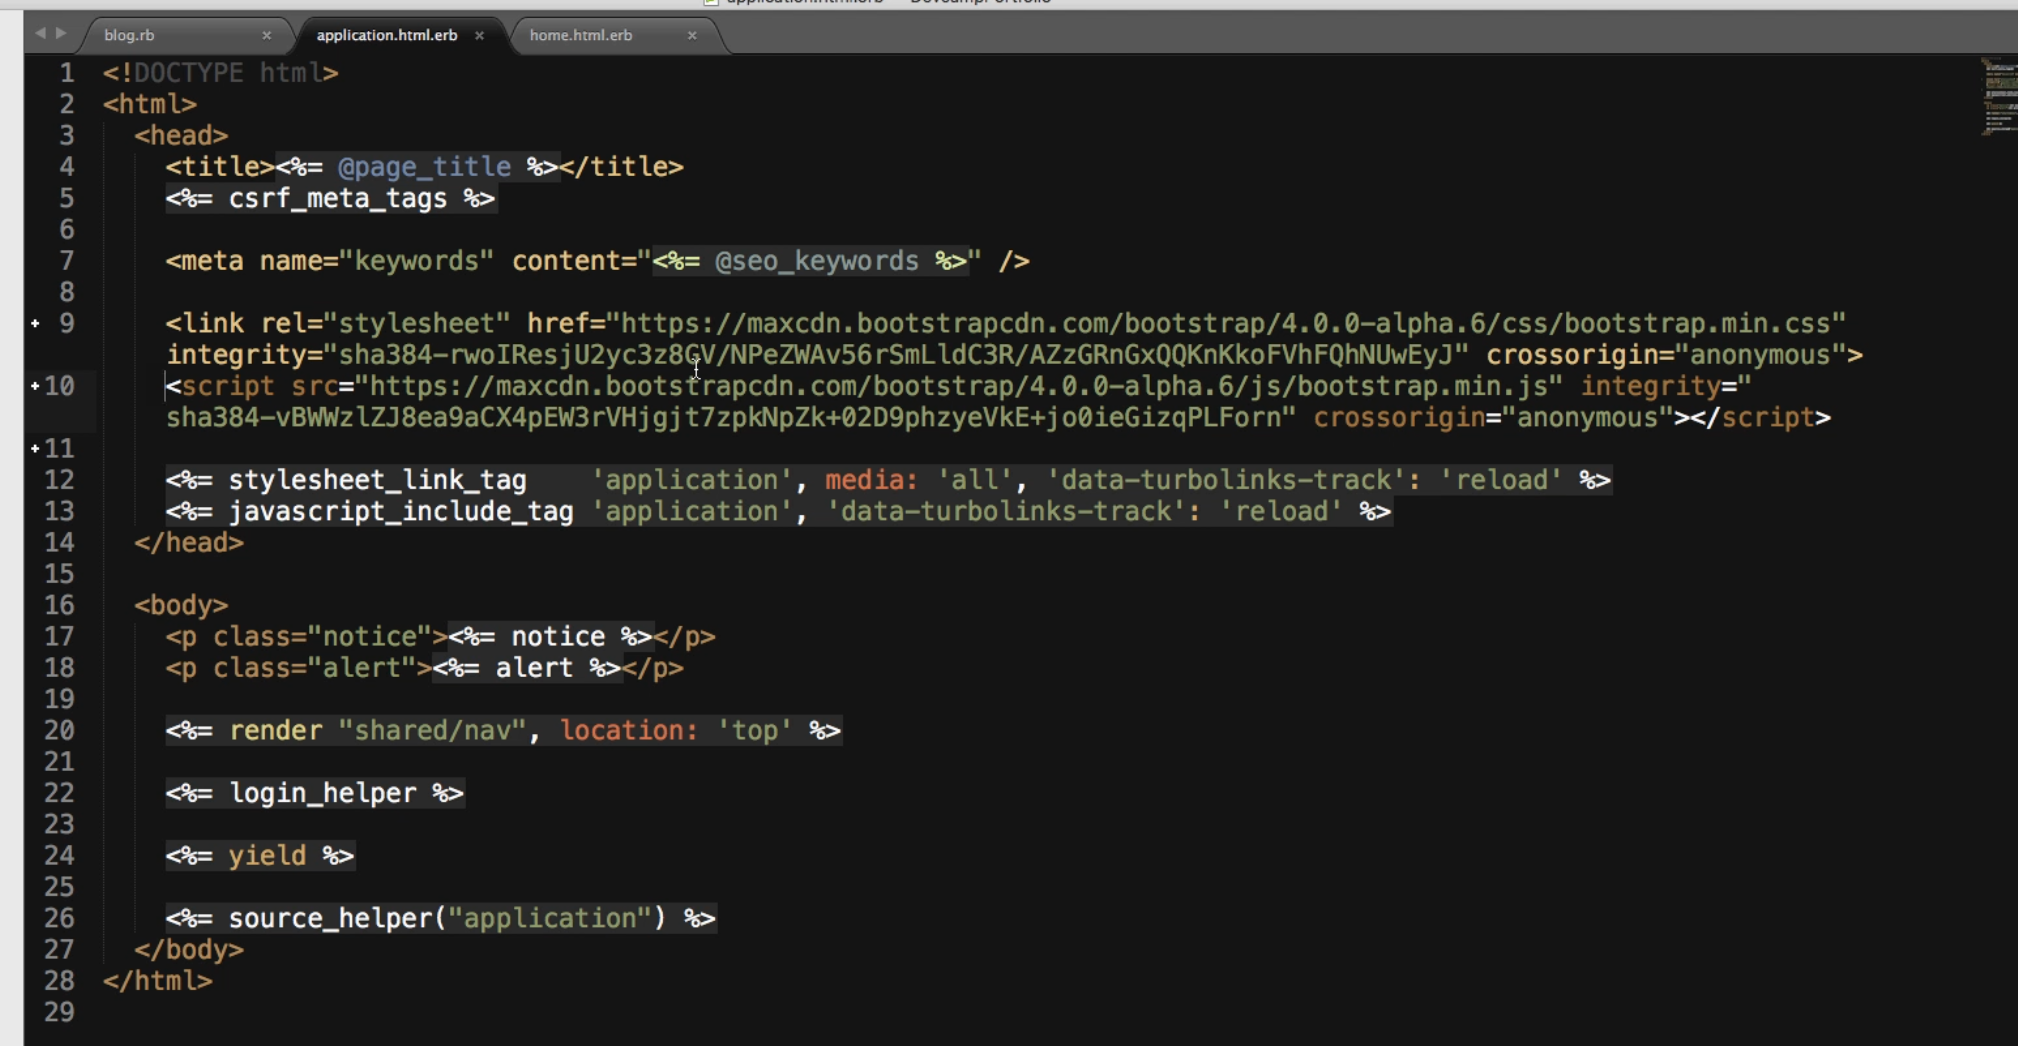
If I come to google chrome and go to localhost:3000 This is going to open the application and it has bootstrap implemented.
Why do we have to use a gem? With two lines of very easy code, we were able to integrate this and there are times when that's perfectly fine. Usually, this is considered a bad practice. Sometimes these items can go down, say that the bootstrap CDN URL for both Javascript and for CSS go down, all of your styles are going to disappear on the site. You're essentially coupling your entire application to the Bootstrap CDN. Imagine if Facebook or Twitter did something like this and the server went down, all of these styles disappeared for a few hours.
Another reason is that these are just files. If I copy this and come into Google Chrome, paste this in, you can see that this is just a giant CSS file. This has all of the styles and all of the various things that make Bootstrap. What happens if they decide to change and name on one of these items and you are relying on it? If you actually built your own styles to override some of these values, and they make a change, then your styles can break.
When we use ruby gems, we can actually encapsulate all of the CSS and Javascript files and store them in the application, then we have access to the code at all times. If the CDN for bootstrap goes down, it has no effect on us. We can use it in offline mode, when I'm flying on a plane I can still load up my applications and work on them. Since the code for the styles is on the local machine it doesn't need to communicate with the outside world. When we use the gem and bootstrap decides to make a class name change, our styles are not going to be affected.
let's come to the terminal. To delete test code this is what I do and it is considered a better practice
- git status to see the changes
- git checkout app/views/layouts/application.html.erb
this makes sure that the all of those changes were removed.
Open up our gemfile. If I come back to the bootstrap doc page and scroll down to where it says package managers I can come to ruby gems. This has the initial code we need but this doesn't give the whole story. If we copy this code and paste it into our application this doesn't do everything we need for us. If you keep reading down you can see the Gem's readme for more details, this gives us everything we need in order to install it properly.
First, paste gem 'bootstrap', '~> 4.0.0.alpha6' in the gemfile at the very bottom.
Now, in the terminal, type bundle install and this will bring down bootstrap and install it
Essentially this is going to the bootstrap server and it's saying I want the whole set of the bootstrap code library. It's going to bring in the CSS and the Javascript and it's going to put it in the background of the application. This doesn't technically install it in the sense that we have direct access to it.
In other words, if I come to sublime and I go to app/assets/stylesheets and javascript's nothing here has changed. The way the bundler works and the way your gemfile works is it takes the dependencies and then it purposefully hides them from you. The reason is that you would not want to go and edit the direct code files for bootstrap. If you did make a change that may have some unknown consequences and it'd be a poor practice. If you need to make changes there are a couple ways of doing it.
You can come into the actual gem you're working on and then you could clone it. You could clone the repo and then make the changes you want and then use your own cloned version of the gem.
The other way would be to go into your actual code base and in config/initializers this is a good spot to add overrides. For example, if we wanted to override some things in devise, we would go to the devise initializer. You don't need to directly change devise itself, you can override directly in the code. We have all kinds of devise overrides inside of our controller concerns (the whitelist). The override occurs on your own code base or on a gem you fork. You wouldn't go in and forcefully change the code that's provided because whenever you run bundle install, It's going to go and grab the latest version of this code. That may have some breaking changes if you went and made some changes directly to the code base.
Let's see if our application is working now. I'll give you a little hint and say no. We haven't finished doing the instructions, however, I think it's still a good idea to come here and test it out. If I run refresh right here, this is going to call the server and you can see we still have our basic old HTML and that's not what we want. Let's keep going down the instructions.
It says to ensure that sprocket rails is at least at version 2.3.2. How would we find that out? I want to copy this and let's come into Sublime Text. If I search for this you can see that nothing comes up. We actually need to go to the gemfile lock file. The gemfile lock shows your gems as well as all the dependencies. Notice how long this is. Essentially this says ok, not only do you need to have the gems that you picked out but each one of these gems may have their own set of gems that they depend on. If you search, now you'll see we have sprockets rails version 3.2.0. You may wonder why I'm walking you through this, it is because I want you to be able to understand how all of this works so when you see instructions like "ensure sprockets rails is at least__" you know where you can verify that and it's in your gemfile lock.
Next it says to import the styles in app/assets/stylesheets/application.scss. Come into sublime, if I run fuzzy's search, you'll see we don't have this. Nothing came up when I search for that. If we come to asset/stylesheets you'll see that we have an application.css file not an application.scss. The difference is that scss stands for Sassy stylesheets, which is a more modern version of stylesheets and bootstrap needs this in order to work. All I have to do is rename application.css to application.scss. We have multiple layouts so we're going to have to make changes to the other ones.
@import "bootstrap"; is going to bring in all of our bootstrap scss files. We have to call this and then we're going to have access to them. I'm going to get rid of all of our current temporary code (application.scss file) because we're not going to use this anymore. We don't need to do it in pages we only need to do this in our layout css files. We have three layouts and the layouts all have their own dedicated css file. We need to import it in those, if we didn't we wouldn't actually have access to bootstrap. This is kind of the start point for where all of our styles go.
Come back to Chrome, hit refresh and now all of our styles are showing up. We're not quite done installing this but now we do have our styles.
Let's come back, now we are ready to come and change up our javascript. Bootstrap also gives some really helpful javascript libraries. We need to implement //= require bootstrap-sprockets, the order of this import is absolutely vital. They show "require jquery" and it's because bootstrap sprockets rely on jquery. If you put it above it then it's not going to have access to the methods inside of here. We need to be able to pull these in and that's going to be the right order. If I go assets/javascript's/application.js file you can see we have jquery here. We can come down hit paste and now all of our javascript's are going to be working.

Coming back, hit refresh, if we come to each one of these pages you can see that now everything is working. Eventually, in our style section we're going to get into how we can make all of this look really good. This is the starting point, bootstrap gives us a nice set of basic styles. If you want to know more information about them I highly recommend for you to go see all the examples on the bootstrap site (I'll include the link in the show notes). Bootstrap by itself doesn't give you everything you need, I treat it as is a starting point. It allows me to have some nice classes then I can go and customize things myself.
Switch back to terminal.
- git status
- git add .
- git commit -m "Implement bootstrap gem and styles"
- git push origin rubygem
Switch over to a pivotal tracker and click integrate bootstrap is complete. Nice work on that, I'll see in the next guide.