- Read Tutorial
- Watch Guide Video
Out of this entire course, one of the most exciting things that I've wanted to teach you is what we're gonna learn in this section. This is going to be our section where we can actually render Ruby code and Ruby script inside of Vim itself. And we're going to leverage the seeing is believing gem here, I'm gonna put a link in the show notes for you, so you can access this, but what you have here is just a regular Ruby gem that actually will allow you to run Ruby scripts.
So instead of having to quit out of a file and run it, or even running the Ruby script while inside of the file in terms of writing, command, bing, and then typing in Ruby and the name of the file. All of that's great, that's perfectly fine if you do that, however, this is a much better way. So with this, you're going to be able to have all of your Ruby code and all of your Ruby script rendered directly in Vim without you having to do anything besides hit a few keystrokes.
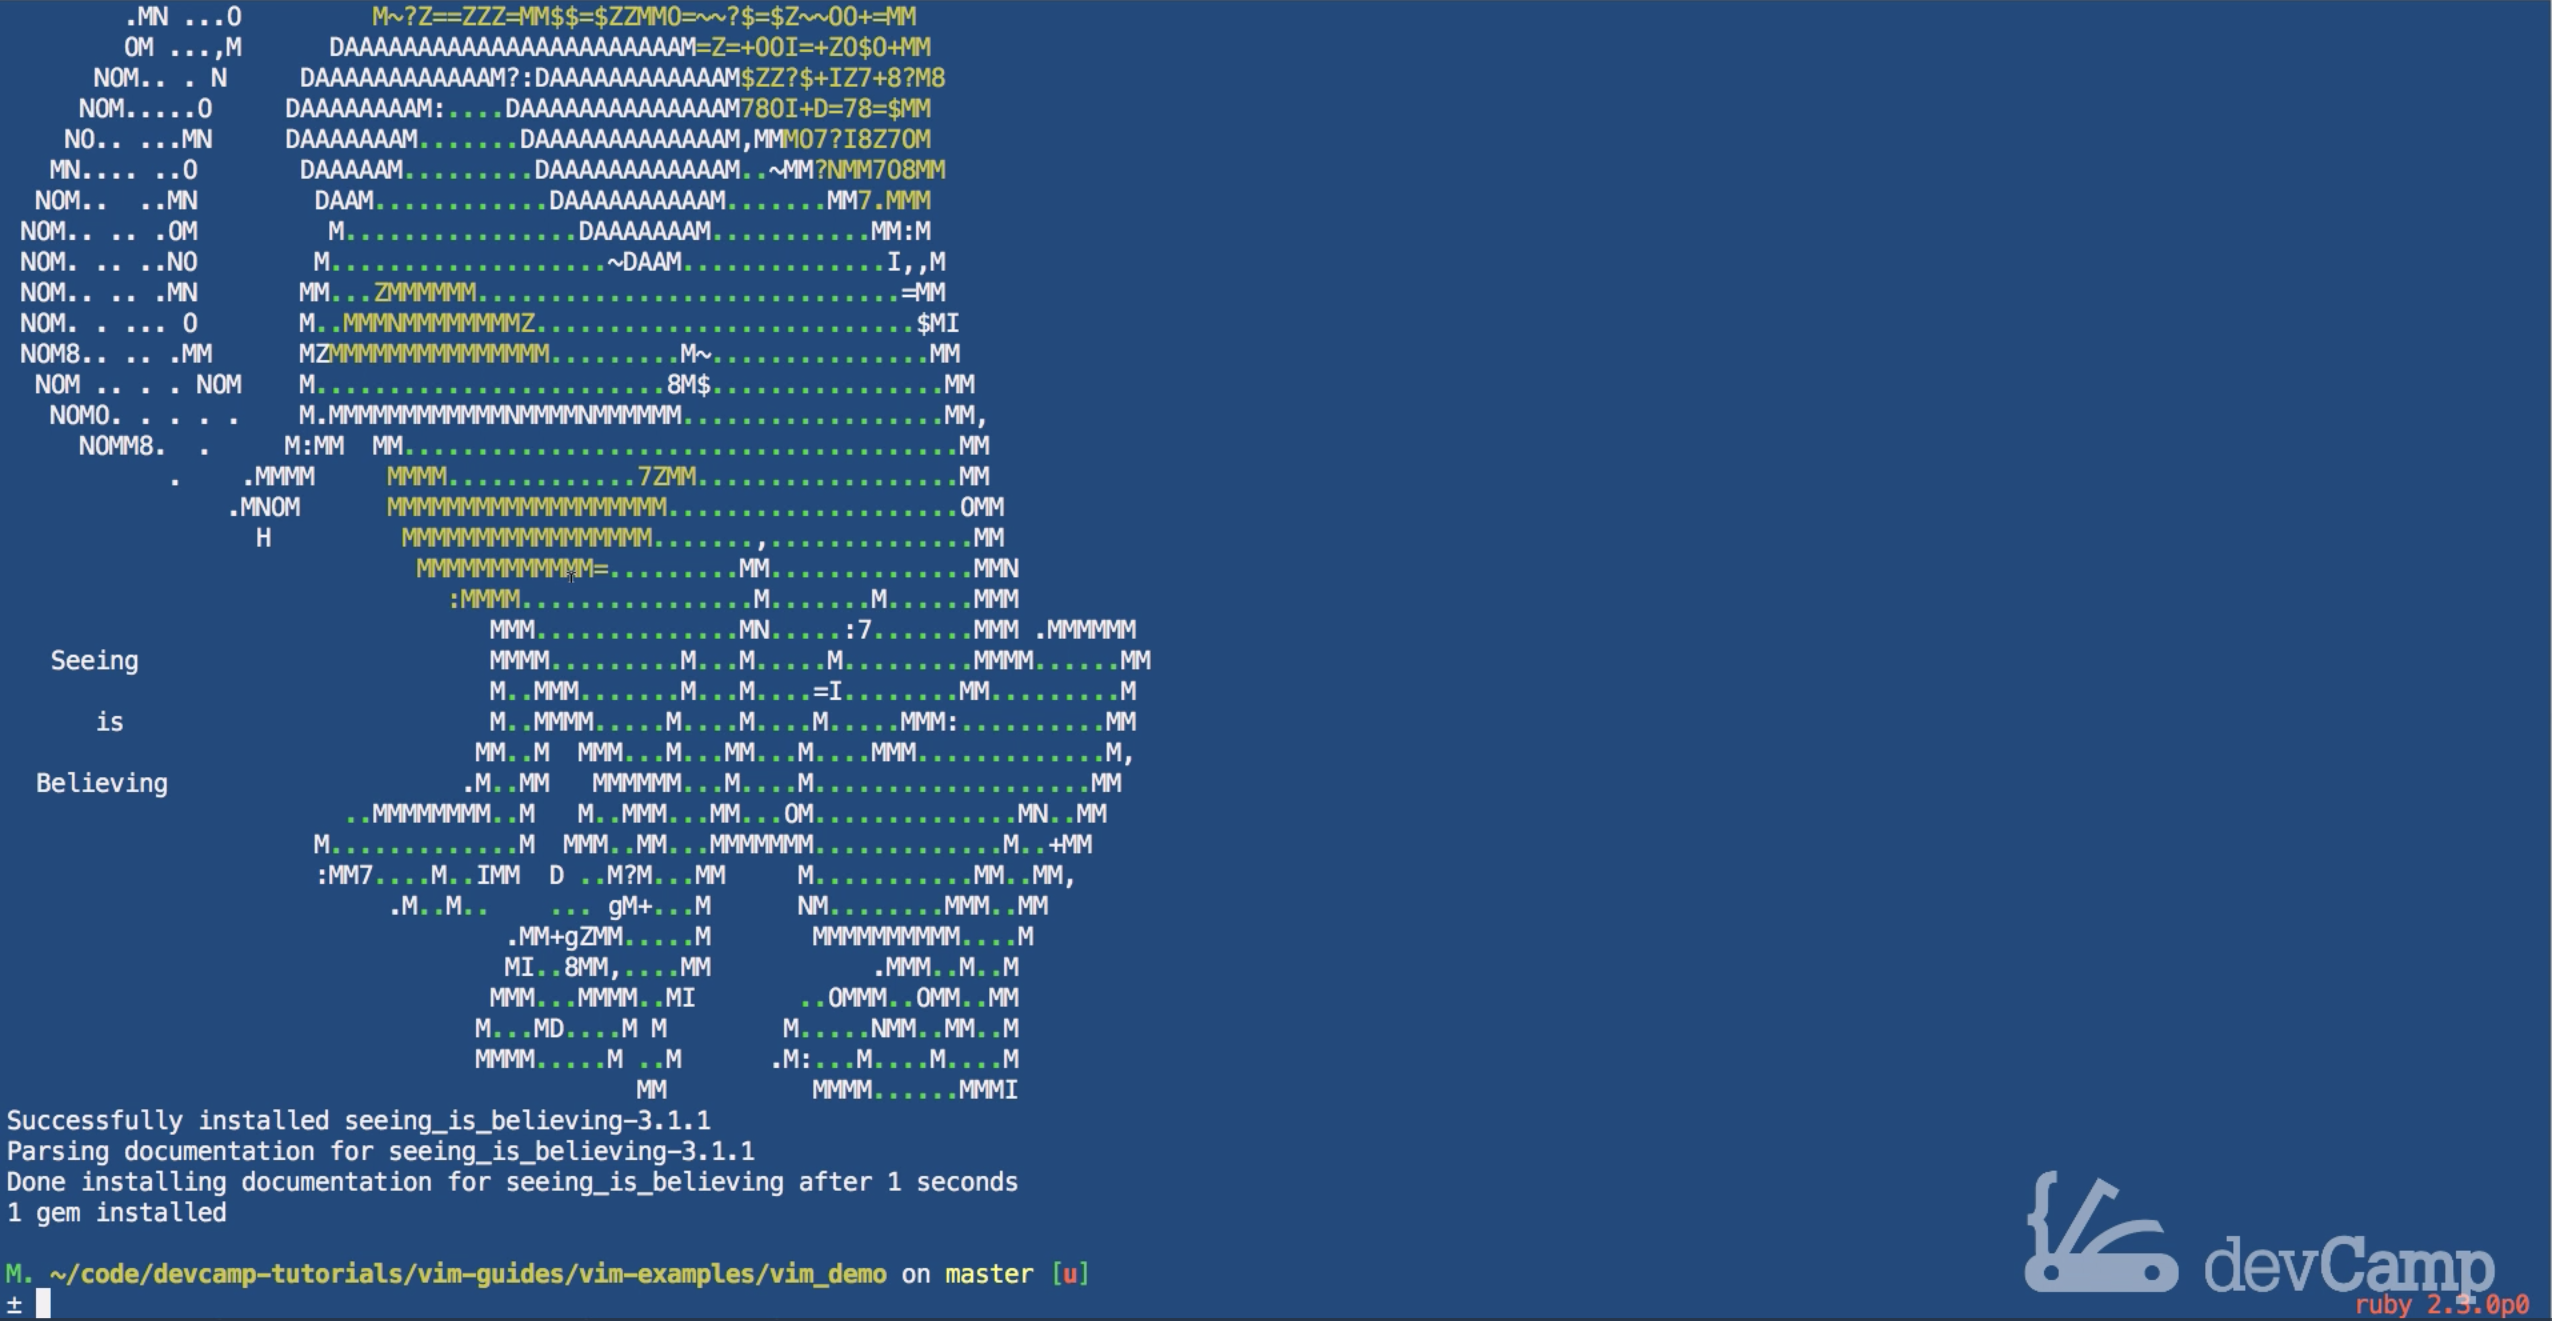
So the first thing we're gonna do, is install the Ruby gem. Like it shows, you have to have Ruby, at least greater than 2.1, which, most likely, if you're following this course, you already have that. And simply paste this in, we're gonna say gem install seeing_is_believing, and from here it's going to install the gem, and it's gonna print out this nice little smoking frog here for you.
So, as long as it says everything installed successfully, you should be good to go. However, we can actually use some test scripts here to see if this is working. So I can copy this, just to verify it, and what this is saying is, it's gonna run the seeing_is_believing process here, it's gonna pass in just an environment, and then it's going to run the command one plus one as a string, or as a string argument, and if I hit return, then you can see in a second that this is gonna process, and now it's added it and now we have seeing_is_believing shows that one plus one is two, which is good. So everything on that side should work.

So now that we have that in place, let's actually open up our Vim RC file, 'cause we need to add our custom keybindings to make this work. So I'm gonna open up vim RC, and moving down into our custom settings, I'm gonna switch into Insert mode, and we can copy this over. So, going into Vim settings in the show notes, and go down to right here, so we want everything from seeing_is_believing all the way down to this V map right here.

Now if I hit copy, I can paste this in, and if you remember, it's giving us that kind of annoying indentation, but we can come and fix that. On each line where it says "n map" or "v map", and in this one, because of our whole word wrap issue, we need to bring this up one line. And then do the same thing on this one as well, and that's it, it's just these five commands right there. So that should be everything we need, so let's walk through this.
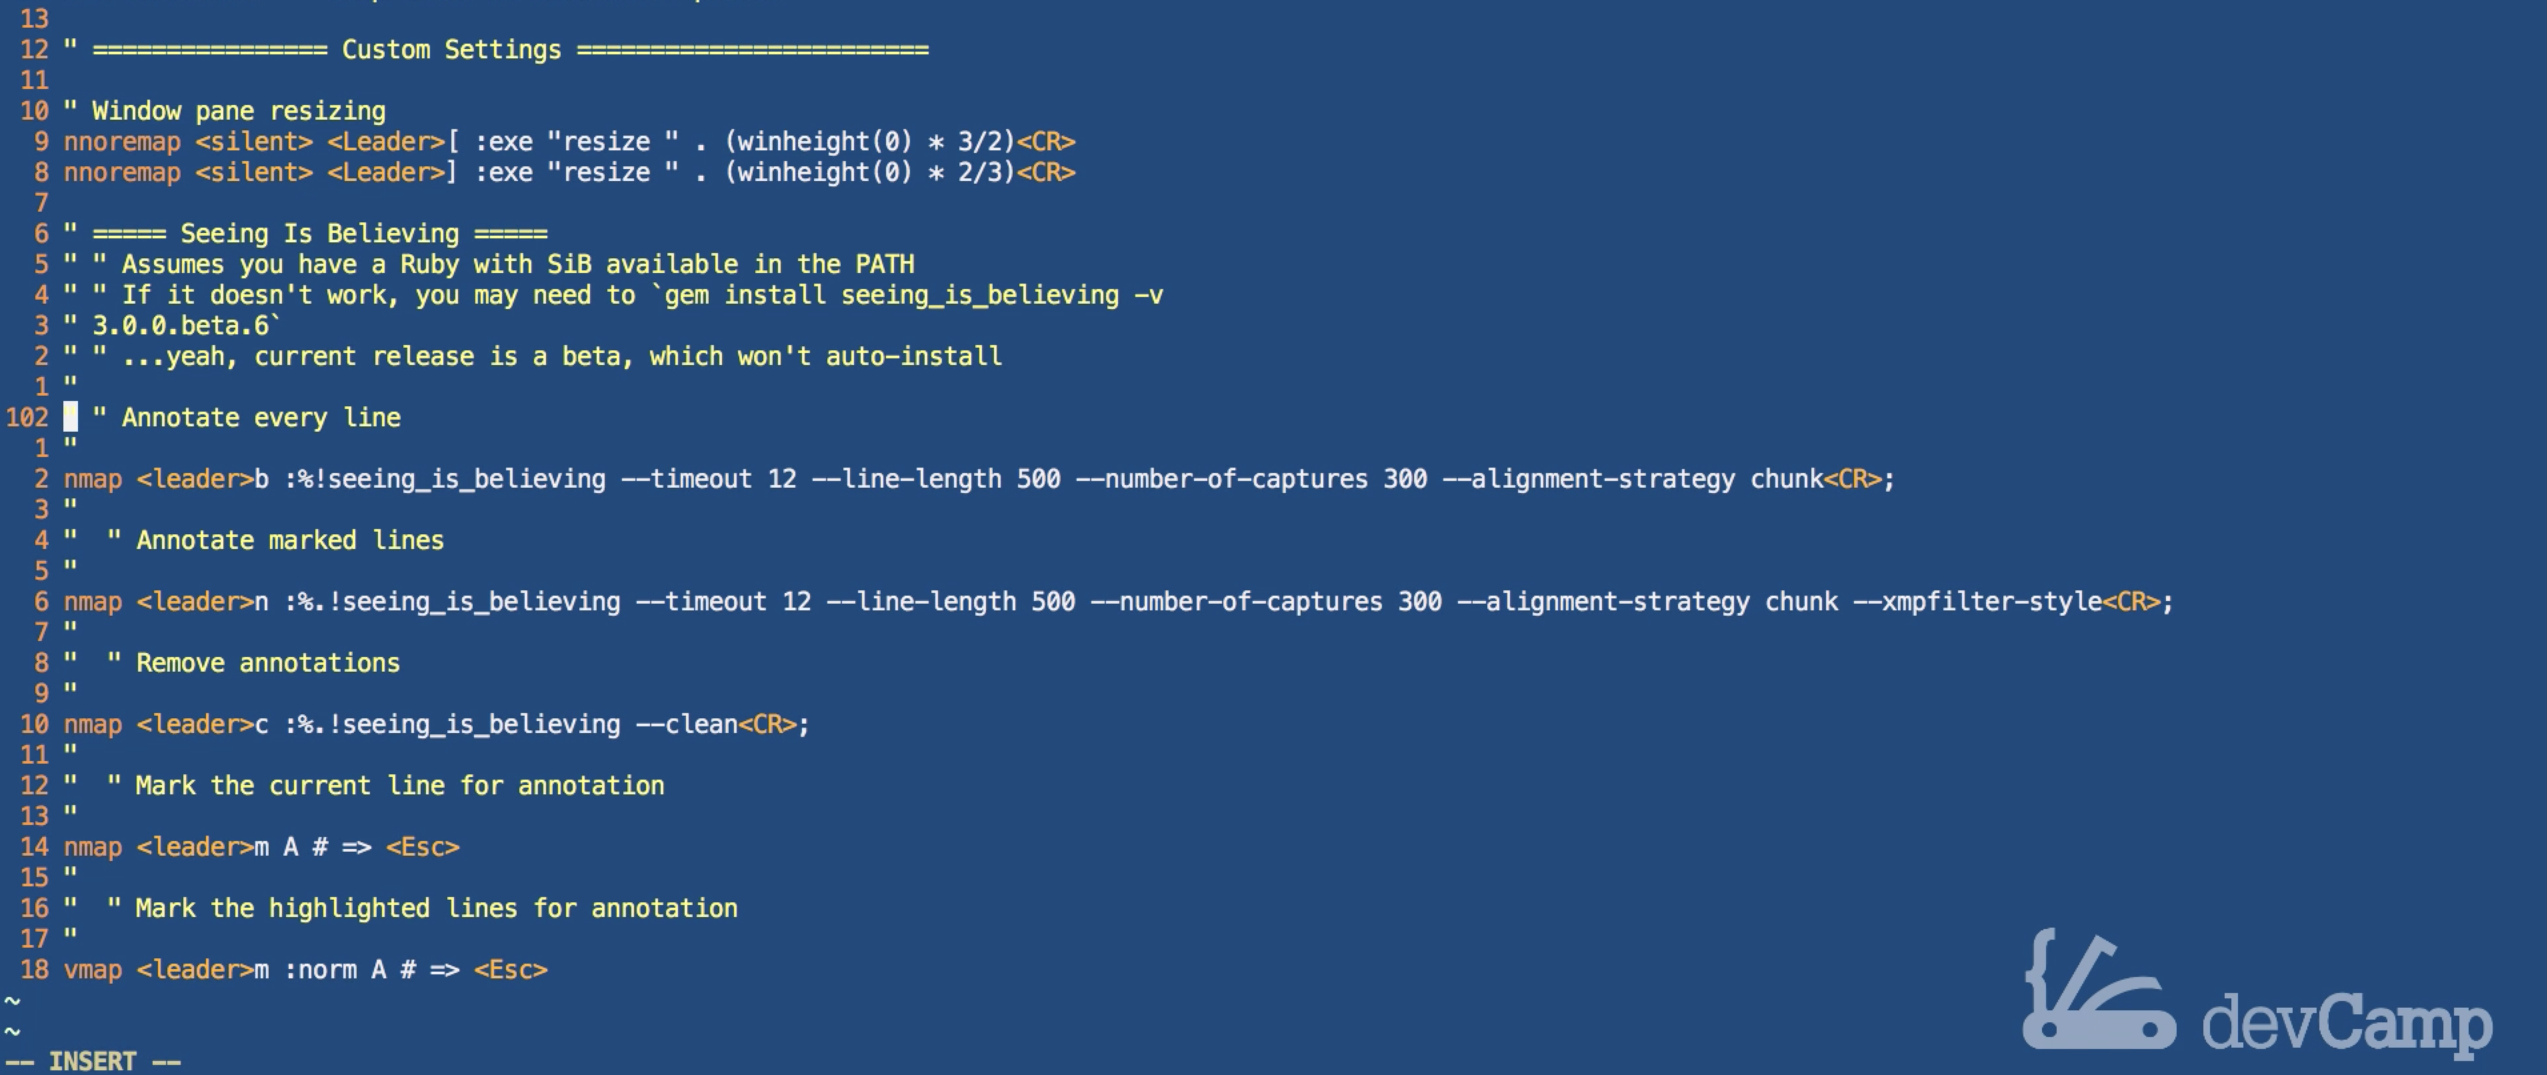
The items that I use the very most is where I want to annotate every line. So we're gonna look at our special mapping feature, and it's going to say that we have the leader key. Remember, our leader key, if you set it like mine, is gonna be a comma, and then from there we're gonna pass in the key "b", so "b" as in "boy". And that is gonna annotate every line.
Now to clear those annotations, you're gonna come down to the third rule and it's gonna be leader "c". I like using these because they're pretty close to each other on the keyboard, there are other ones where you can do things like annotate marked lines, or highlight it, or anything like that. I, personally, I live with rules one and three, I annotate every line, and then I clear them off, feel free to experiment with the other ones, but that's what I do.
Okay, so now that we have that, let's open up a file, I created a file named vimscene. And here, let's run a quick test, so I'm gonna create an array and set it equal to one, two, three. And now, make sure you hit escape, so you go back into command mode, and then you're gonna run the comma, followed by a "b". So write ",b", you can see the scripts running in the bottom, and now it ran that for us. Look at that, and it returned our array, one, two, three.

Let's create a little bit more of a complicated one. So, array map do, and this is going to just pass i as a block variable, and we'll say, i, exponent two. So we're looking for the exponent here, so we're essentially squaring each one of these items.
arr.map do |i|
  i ** 2
And now, if I hit save and I switch into the other mode, into command mode, and run cmd + B, it's gonna run all of this, and look at that. Now we have all of our code here, where it's showing us our initial value, which here we had the initial value of 1, 2, 3 'cause that's what we passed into it, then moving down one line, you can see that we have 1, 4, 9 so it's printing out the value in each iteration.
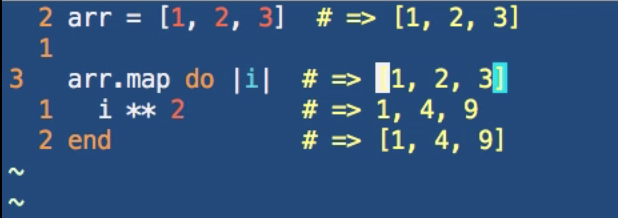
So, one squared is one, and then we have, two squared is four, and then three squared is nine. So it returns that, and then lastly, it shows what the method itself returned, which is an array of 1, 4, and 9 which as you know from a Ruby developer point of view, that math always returns an if you pass them a question, it will return an array with those changed values.
So this is all working perfectly, and this is, I think, one of the coolest things that I have added into vim in recent memory, because I am able to do this. And if you go through the advanced Ruby course that I'm building for them, you'll see that I use this exclusively, so this is what I use throughout the entire course. And it's actually part of the reason why I created this Vim course, is because I knew that if I went and created the advanced Ruby course, and I showed all of this but I didn't actually show you guys how to go and build it, do it yourself, most of the questions would revolve around, "how do I implement this?" kind of automated rendering engine inside of vim.
So I wanted to dedicate an entire course, just to show how I have created my own development environment so that you can follow along, and so you can customize your own and do everything you need to do on that side of it. So, this is how you can implement Seeing is Believing inside of Vim, so you can start auto-rendering your own Ruby code.