- Read Tutorial
- Watch Guide Video
Now that you know how to make some permanent changes to your Vim settings, let's actually put in all kinds of cool settings that we're going to use, and we're gonna be using throughout the rest of the course. So I'm gonna type in vim ~/.vimrc, and I'm gonna delete this set number because I have that already included.
Inside of the show notes, I'm gonna give you my base settings for Vim, so right here this is going to be in a link in the show notes and these are all the base settings we're gonna use. Eventually we're gonna have way more, we're gonna have about another lines of rules, but I want to, I didn't wanna give you all of the settings right from the beginning because I think that that wouldn't be very beneficial to you, since you wanna learn how to actually use Vim, not just copy and paste someone else's, so what we're going to use here is the base settings, and then throughout the rest of the course we're going to keep on adding additional items into it based off of the features that we're learning.
I'm gonna copy this, switch into vimrc, I'm already in insert mode, and I'm just gonna paste this in. So before I hit save, let's actually go through each one of these, and I remembered that I made a mistake in telling you a command earlier, I told you that the command control-h, or shift-h, took you to the top of the file, that takes you to the top of the screen.
To go to the top of the file, you type in gg twice, and that takes you to the very top, so it's shift-g to go down to the bottom, and then gg to get to the very top, so just needed to make the correction cause I remember I told you the shift-h earlier. But now let's keep going down, so in the very beginning I have just some boiler plate code right here, this talks about having some backup mrc files and some things like that, that's not something that you really have to worry about, you won't ever have to change these items.
Here is our general configurations, and please note the way that you can add comments inside of a vimrc file is with the quotation marks, with double quotation marks. So any time here that you want to add a note, you give double quotation marks and then followed by whatever type of comment that you wanna add in.
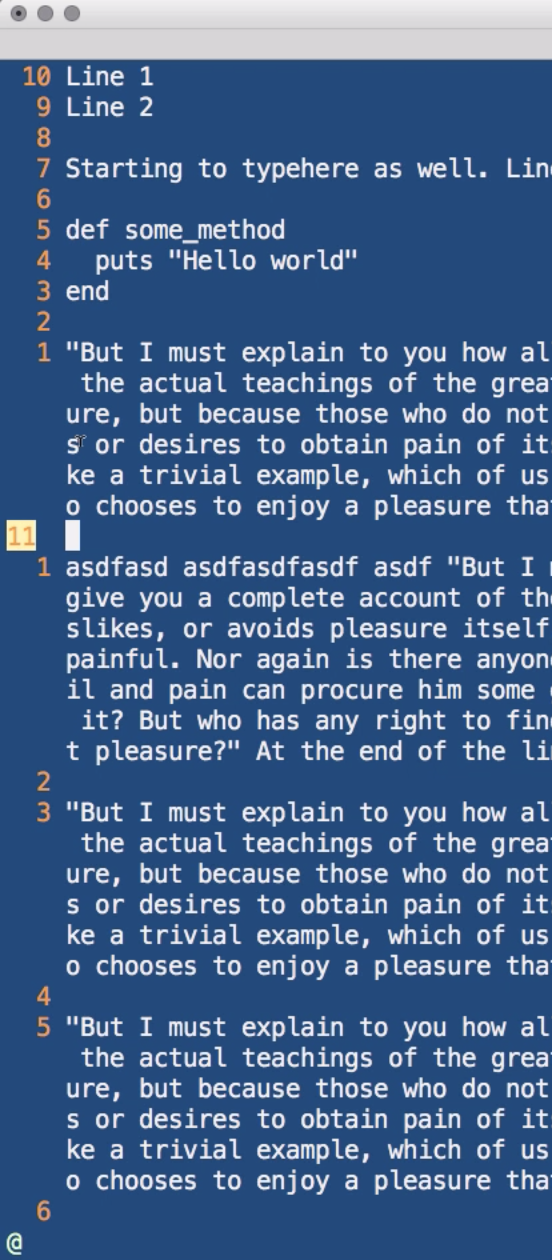
The basic general configurations are first the relative number, this is one where you may or may not want to do this, you may want to simply have set number and then get rid of relative number entirely, I'm going to show you what that difference is, so if I quit out of this, and now open up our example file, notice here how we have relative numbers instead of real ones, so right now, if I navigate down the line, on the left-hand side, here we have two columns, left-hand side, this is the actual line number you're on, here these are the items that you are related to, so these are the relative items, so we are one line away from this line, we're two lines away from here, three lines away from here.
Depending on how you use them, this can be either incredibly handy or incredibly annoying, so that is why it's very nice that you have a setting where you can change it, and you can have it however you want. I personally like relative line numbers because I can do things like delete and if I want to, I know I wanna delete lines from here to here, then I know that I can run a command like d3 and hit enter, and it'll delete all of those lines, so that's a reason why I like relative lines.
We'll get into how we can use those later on, but just so you know the difference, we could have it here or we could have just regular set numbers, it's completely up to you, like I said, part of this entire course is based on giving you the information you need, I don't assume to think that this is the way that you should have your entire system set up, it is based off of your own preferences.
So, that is relative line number, we already talked about this line right here, this is set backspace, this lets you do things like if I go into insert mode and hit delete, it'll take me right up back. So that is backspace, history gives you command line history, and you have the ability to show incomplete commands, you have the current, it shows the current mode down at the bottom, and then we have disable cursor blink, which is just something I prefer. Right here we get rid of the sounds, and here we reload file changes outside of Vim.
And we also have some other things, each one of these has comments, and this is a standard, I forget where I got some of these settings from. What I'll usually do is whenever I'm looking for a specific feature in Vim, I'll Google it and if I see someone else has built a really cool kinda structure and set of settings, I'll usually grab them, and put the comments in there just like this, so that I know what it's related to.
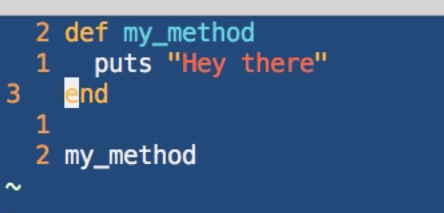
So definitely feel free to go through all of these, notice this one's very important, line 26 and 27, this gives us syntax highlighting, so how cool is this, so if I close out of here and lemme open up a Ruby file, so create, oh, that's not a Ruby file. So if I create a ruby.rb file, now if I type in a method, so def my_method, hey there, if I can type, I'm having a hard time typing at the moment.
So now you can see that we have all of our syntax highlighting right here. So I have def my_method, method is in a different color, strings are in different color, methods like puts are in a different color, I can call my_method down here and it's in white just like puts, cause it's a method, and our keywords like def and end are in yellow, all of your different items related to syntax highlighting are now available and it was so easy, all we had to do was type in syntax on and Vim did the rest.
So part of what I really wanted to show you with this, too, is that Vim has so many things built into the back end of it that just simply aren't turned on and you don't even need to add 'em in, we just need to tell Vim that we want them to run, so that's pretty cool.
Next we have something that may seem like it's not a big deal now, however, this is gonna be one of the most critical things when it comes to customizing your own scripts inside of Vim, and this is called your mapleader. So, a mapleader is a very special key on the keyboard that you can tie in any of your other custom commands, so right now we're not gonna get into custom commands, that's gonna be something we cover later on in the course, but what it's gonna let us do is set up custom commands and in my case, and in many Vim developers' case, you wanna use the comma.
You can use other keys, the only rule with a mapleader is you wanna make sure whatever key you're using is something that's not already being used by other macros or other different commands, so the horrible mapleader would be colon, or a, or something like that, because those ones are already used throughout the entire Vim system, so you wanna use a command that isn't being used anywhere else, so I go with a comma and that's a pretty common pattern to use.
Next I set my timeout length to 1500, this is milliseconds, so this is a second and a half, and what this is saying is that from in between keystrokes I have a second and a half to be able to type in the next item, before Vim thinks that I ran a command. So 1500 is usually what I've seen has been the most effective.
Some of the next things are items that you don't really have to worry about right now, talking about swapping files, persistent undo, holding, and scrolling, all of these things are items that I just have as base settings inside of Vim, we're not going to have to really worry about them, they just are kinda nice to have in there so that our system works nice and cleanly.
I'm gonna quit outta this, and now open up our example file, you can see that now we have a bunch of additional nice features, a lot of these are gonna be related more specific to when we're developing like the Ruby file that you already saw, but at the end of the day we have things like relative line numbers and all kinds of things, and very importantly we've now set up a mapleader key, which is gonna be critical to setting our custom scripts and all kinds of our fun stuff that make Vim go way above and beyond the capabilities of many other text editors.
So with all that in place, you are good to go and we're gonna be able to start adding additional customizations throughout the rest of the course.