- Read Tutorial
- Watch Guide Video
We're going to break this last feature into two guides because we're going to talk about two very important components about working with a production application especially with Heroku. And the first is working with add ons so I'm going to go into Heroku and you should see something similar if you're logged in to Heroku here where you'll see all of your applications. I have quite a large number of these so depending on how many apps you've worked with in Heroku you'll see a few to maybe even just one of your brand new to it. So I'm going to type in the name which is going to be devcamp-portfolio and this is going to open up the dashboard. Right now we do have no additional add-ons. So this is going to be pretty basic. So what we want to do is add additional ones to our system because we have to add what's called the redis cloud. Remember how we installed redis locally in order to get action cable working. Well, now we have to do the same thing on production because redis is the tool you can utilize in order to have action cable working and for it to process the data. All of that kind of good stuff.

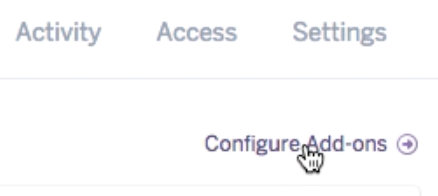
So if you click on configure add-ons this is going to show you where all of them are. And you can find additional ones right here so I'm going to type in redis cloud.

And this is going to bring this up and we're going to use the free version of it if you ever need to do more than you obviously you can scale it up but right now I'm just going to use the free version. And one other item to note is that with the redis cloud here this is a free one with our postgres database this is free even with our main application right here with the dyno, we're using the free dyno. The only negative to this is that Heroku scales down your dynos very quickly. So in order to not have that happen you can pay a certain amount per month to go up to the hobby level and then I'll keep your instance alive for you. You also can set up a way of pinging so you could use something like honey badger or new relic that will ping the application every few minutes and that will keep it alive as well. So just in case you're wondering why sometimes it takes a while for the site to load. It's because of that.
OK so now with all of that in place now we have a few things that we need to change in our application in order to get this working. Opening up sublime text. Open up your config/cable.ymlfile. Right here in production, you can see that the adapter is redis which is good but the URL is redis://localhost:6379/1 which is definitely not what we want. So what we're going to do is use some embedded Ruby and we say
<%= ENV["REDISCLOUD_URL"] %>
And that is going to now call the environment variable for the redis cloud. So this is something that if you go into your environment variables so you say
heroku config:get REDISCLOUD_URL
This should bring that back for you. If not then you can look through the installation instructions available with redis cloud and in order to do that you can say

And this is going to bring up everything that you need. So if you do redis cloud add-ons it's going to have all the documentation. Everything like that. This is a very cool tool that I've used in a few applications and it is one of the easier ones to integrate. And so I think it would be a good one for our application. So with all of that in place in the next guide I'm going to show you how we can configure our application to communicate with this add-on. So action cable will start working in our app.